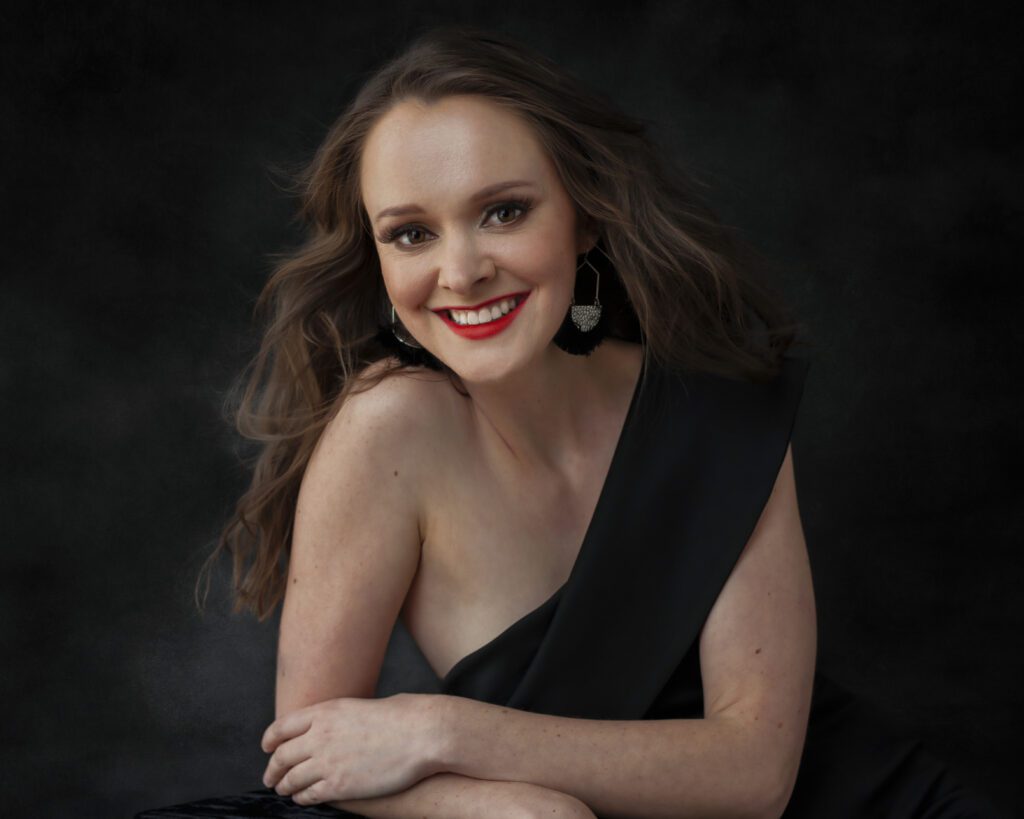
When it Comes to Lips – Size Matters 💋
Contouring & highlighting your lips doesn’t need to happen every day; for a Special Occasion, it’s definitely worth the effort. Last blog we talked all about how our mouth shape changes as we age. This blog is all about regaining or giving the illusion of a sexy youthful pout. Follow the tips below & you can’t go wrong.
Step 1 Lip Plumper
As part of your pre-makeup application skin prep, smooth a lip plumper over your lips. Whilst doing your eye makeup & foundation the lip plumper gets to work. If you’re sensitive or prone to allergies avoid this step.
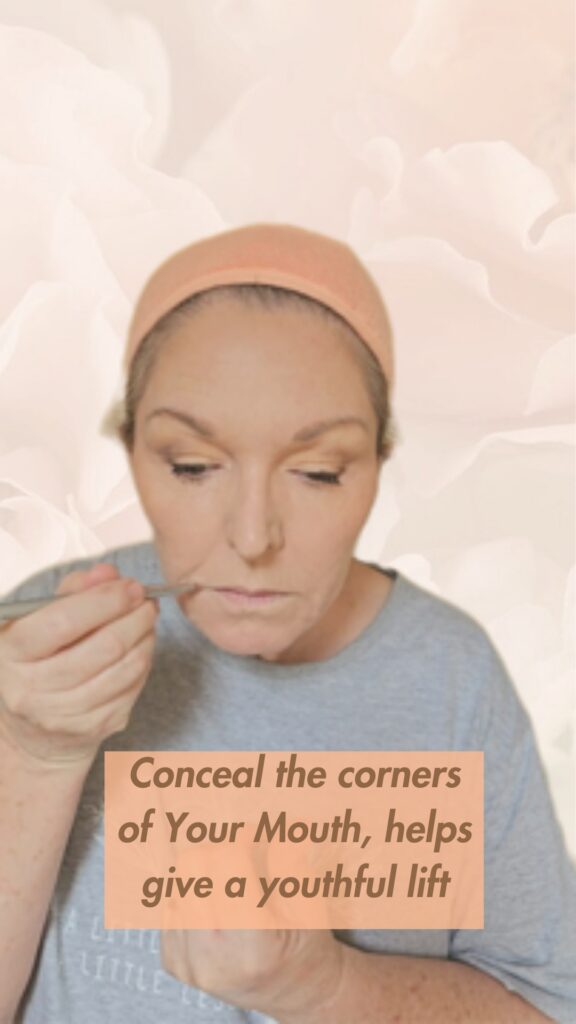
Step 2 Concealing the Corners of Your Mouth
Use a concealer at least 2 shades lighter than your foundation colour. Find the spots where your upper & lower lip lines meet, with your mouth gently closed, swipe your concealer brush across the spots you can no longer see your lip line.
This will camouflage a downturned mouth, helping to lift your completed makeup look.
You can also run a light line of concealer around your entire lip line. Always blend well. This is especially helpful if you have a thin upper or lower lip.
Step 3 Contouring the Lips
You can use a brown hued lip pencil or pop a thin blended line of your contour product under the lowest part of your lower lip & along the top of your cupid’s bow. This creates shadow, which in turn helps define your pout.

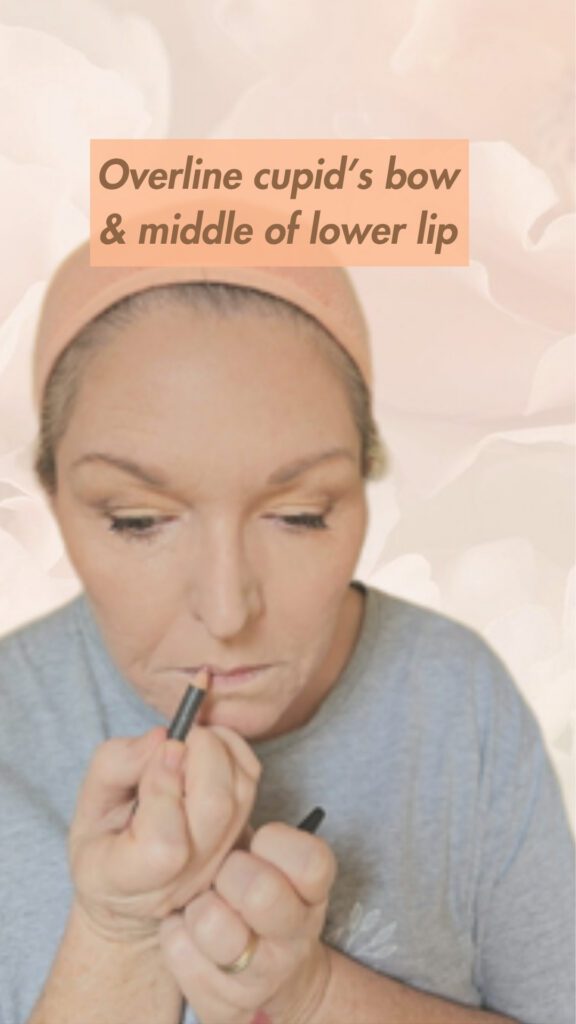
Step 4 Drawing the Cupid’s Bow & Lower Lip
Now it’s time to pick up your lip pencil & overdraw your cupid’s bow & lower lip. The perfect colour should be no more than 2 shades darker than your natural lip colour. I start with defining my cupid’s bow as this assists me in establishing symmetry. Since most lips aren’t naturally even, we start with what’s naturally there.
Trace along the outer edge of your more rounded side, then define your midline.
Use this as your guide to gently reshape the more pointed side, softening the peak so both sides mirror each other.
Do not overline your entire lip, it can leave you looking ‘clownlike’ 🤡
Let’s face it, nothing is scarier than a clown 🤡
Now you’ve got the cupid’s bow & lower lip defined, take your lip pencil & trace along your natural lip line to join everything together 💋
Step 5 Prevent Lip Bleeding & Fading
Take your lip liner & start slowly feathering the colour to the centre of your lips, keeping the middle bare. This trick boosts the appearance of fullness when you apply your lipstick &/or gloss.
Utilising the liner this way avoids that faded, patchy lip stick look & prevents colour bleeding throughout the day.

Step 6 Add Your Lipstick & Gloss
Now it’s time to add your favorite lipstick. I apply mine directly from the tube, to ensure the colour completely marinates my lips I blend, blend, blend with a lip brush. A brush ensures the colour is fully diffused & keeps every step looking seamless & natural.
For a special night out, I’ll dab a little shimmer shadow in the centre & top up with my favorite gloss. All of these steps add dimension & a slight ombre effect.
Other women will be thinking, ‘OMG her lips look amazing, how has she done that, it must be filler.

And voile la You’ve Just Created Your Perfect Lip
💄Irresistible
💄Sexy
💄Youthful
1:1 Masterclass
If you’re craving more personalised guidance, now’s the perfect time to book your 1:1 Masterclass.
Together, we’ll dive deeper into your specific beauty goals, focusing on techniques to enhance your features & strengthen your confidence with every brushstroke.
You deserve to feel confident in your skin, mastering a few tailored techniques will transform the way you show up in the world.
I’m always here for you. If you have any questions at all, simply head over to the contact page. I’m only a message away.
M xx